
As the days get shorter, the need for some extra illumination on your vehicle becomes obvious. The further you get away from the light pollution of civilization, the darker the nights get. Travel on a deserted road in the backcountry and it is easy to see that your headlights suck. Because of a lack of illumination, it can be easy to smack into a deer or a stranded vehicle. Get off the pavement and things can get really sketchy. The less lighting you have, the scarier it is.
The good news is that adding more lumens to your rig is easier than ever, thanks to LED lights. Due to their unique design, LED lights come in almost any size or shape. They are also hard to break, resistant to vibration, and capable of putting out lots of light. And, there are plenty of manufacturers that make high-quality lights that will outlast any vehicle you put them on. It is not much of a surprise that LED lights are extremely popular.
One of the biggest reasons for the surge in LED lights is that they come in so many different sizes. There are light bars that measure a massive 50 inches across. On the smaller side, some LED rock lights are little more than an inch in diameter. Of course, between those two extremes is almost every size possible. This variety allows for LED lights to be mounted practically anywhere. But is one mounting location better than the other? What are the pros and cons of each? Read on as that is what this article is all about.
Top Of The Windshield/Roof-Mounted
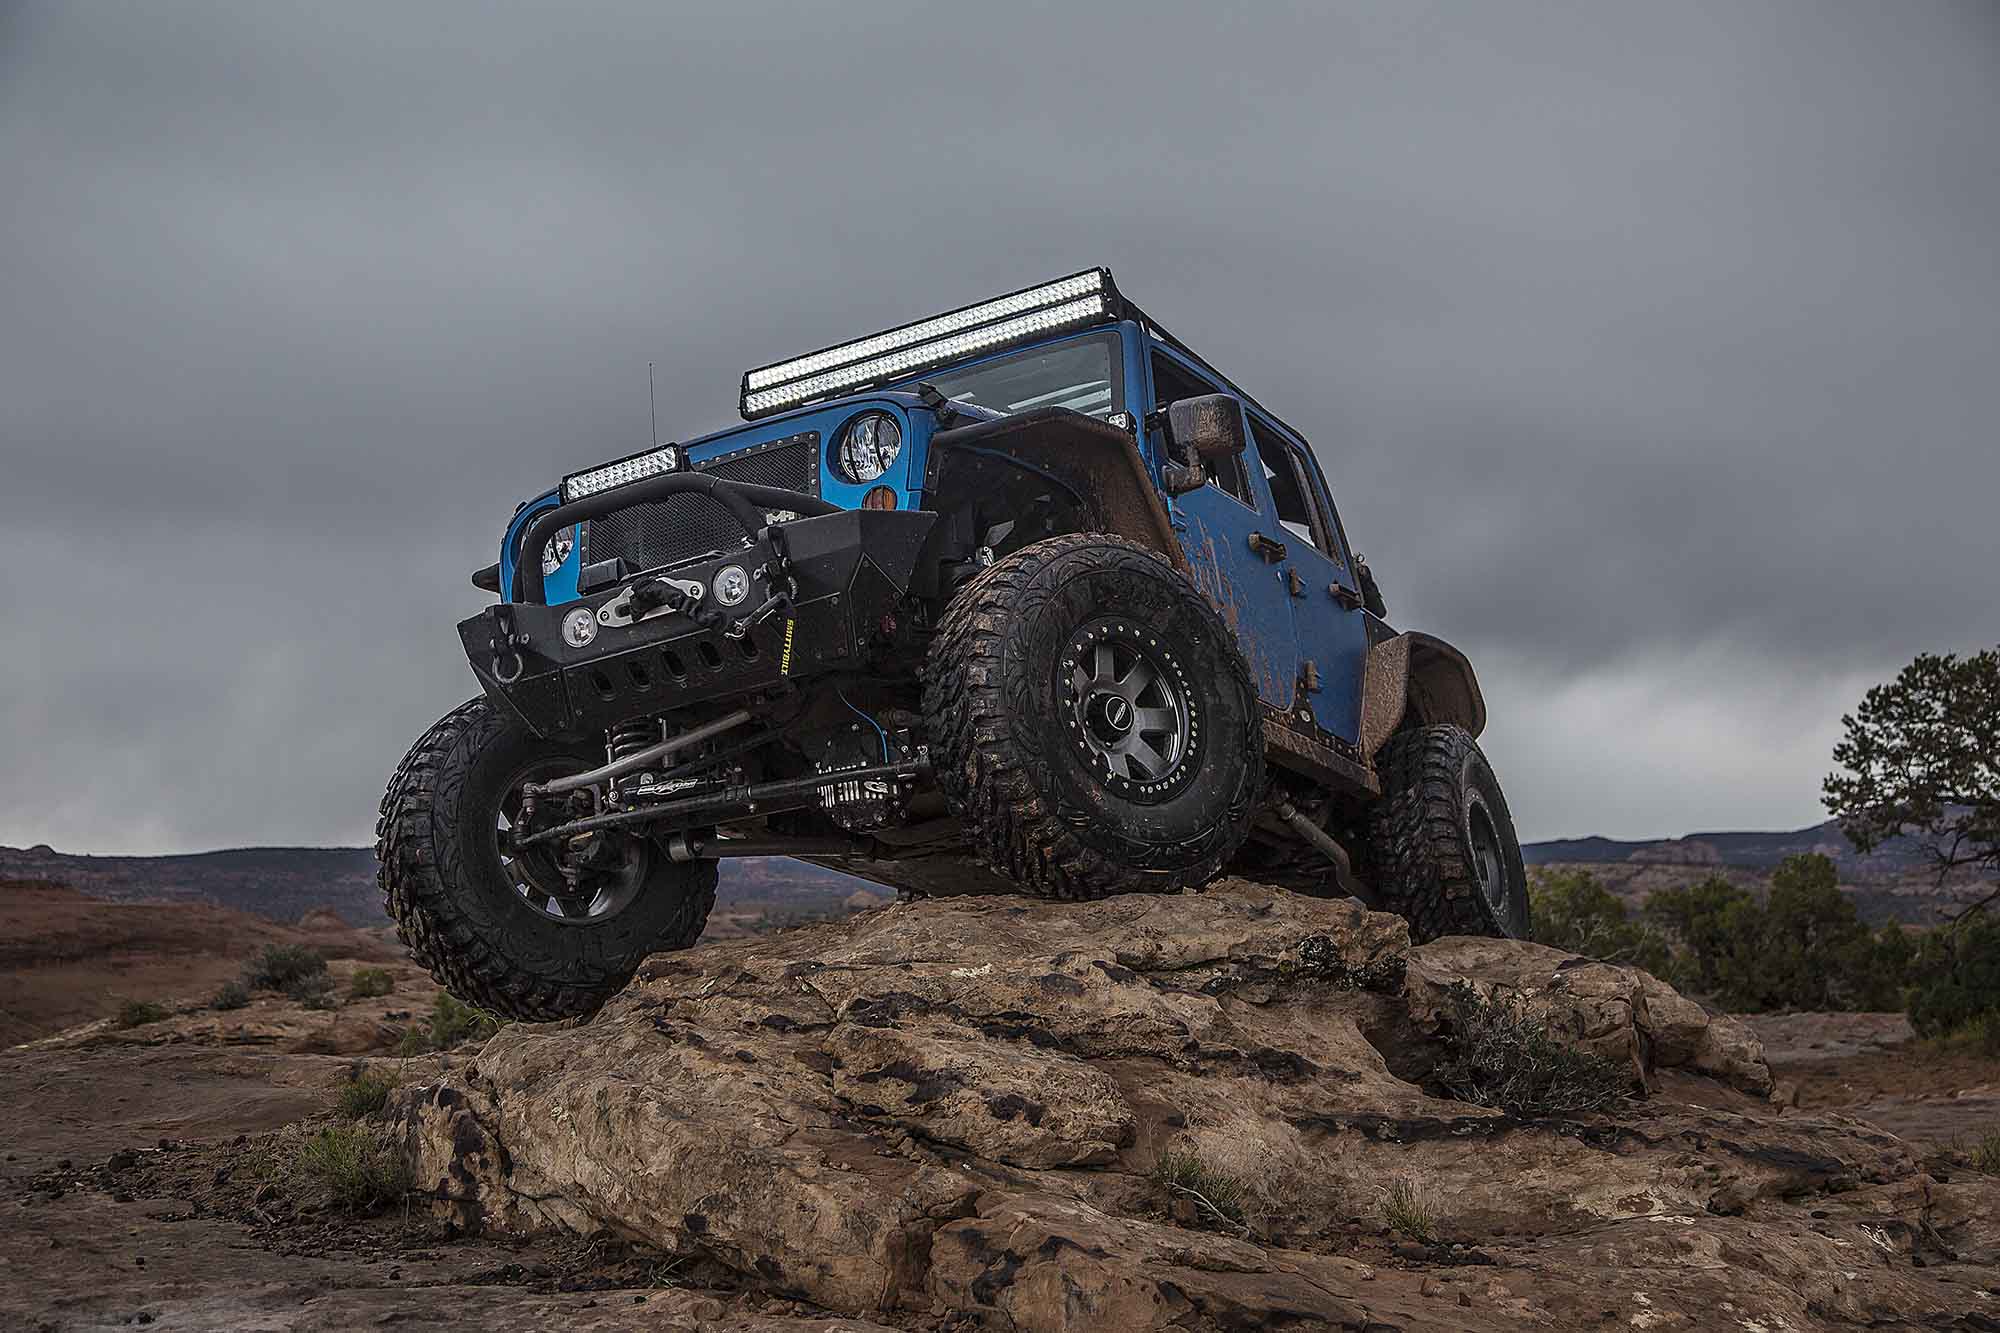
The top of the windshield is a popular place to mount an LED light bar. One reason for this popularity is that the higher up a light is mounted, the farther it can project visible light. But the biggest reason is that this location allows for a massive light bar. There really aren’t any other spots on a vehicle that will fit a 40-50-inch light bar. And, many think bigger is better when it comes to light bars.
There are some significant drawbacks to mounting a light bar on your windshield. One of the biggest is wind noise. A ton of air flows over the top of your windshield. Sticking a giant light bar right into that flow can create a lot of noise. We have been in some vehicles where it is barely noticeable. And, we have been in others where it causes a loss of sanity. The results vary with the shape of the windshield, size of the light bar, and its design all playing roles.
Mounting is another consideration. Most vehicles (except for Jeeps) have no bolts anywhere near the top of the windshield. With no place to bolt to, any mount will have to be drilled into place. Drilling into areas where water regularly flows during rain storms can be a bit sketchy. And, those holes you drill will always be there even if you decide later to get rid of the light bar. Of course, you will also have to find a way to run wiring from the light to your battery cleanly.
Another big drawback is the amount of glare a rooftop-mounted light can generate. Big light bars are capable of putting out huge amounts of light. That might sound like exactly what you want, but it can be a negative in adverse conditions. In a snowstorm or dust, a lot of that light reflects back into your eyes. Lighter colored vehicles can also bounce a lot of light off of their hoods. All of that glare can seriously reduce night vision.
A-Pillar/Ditch Lights
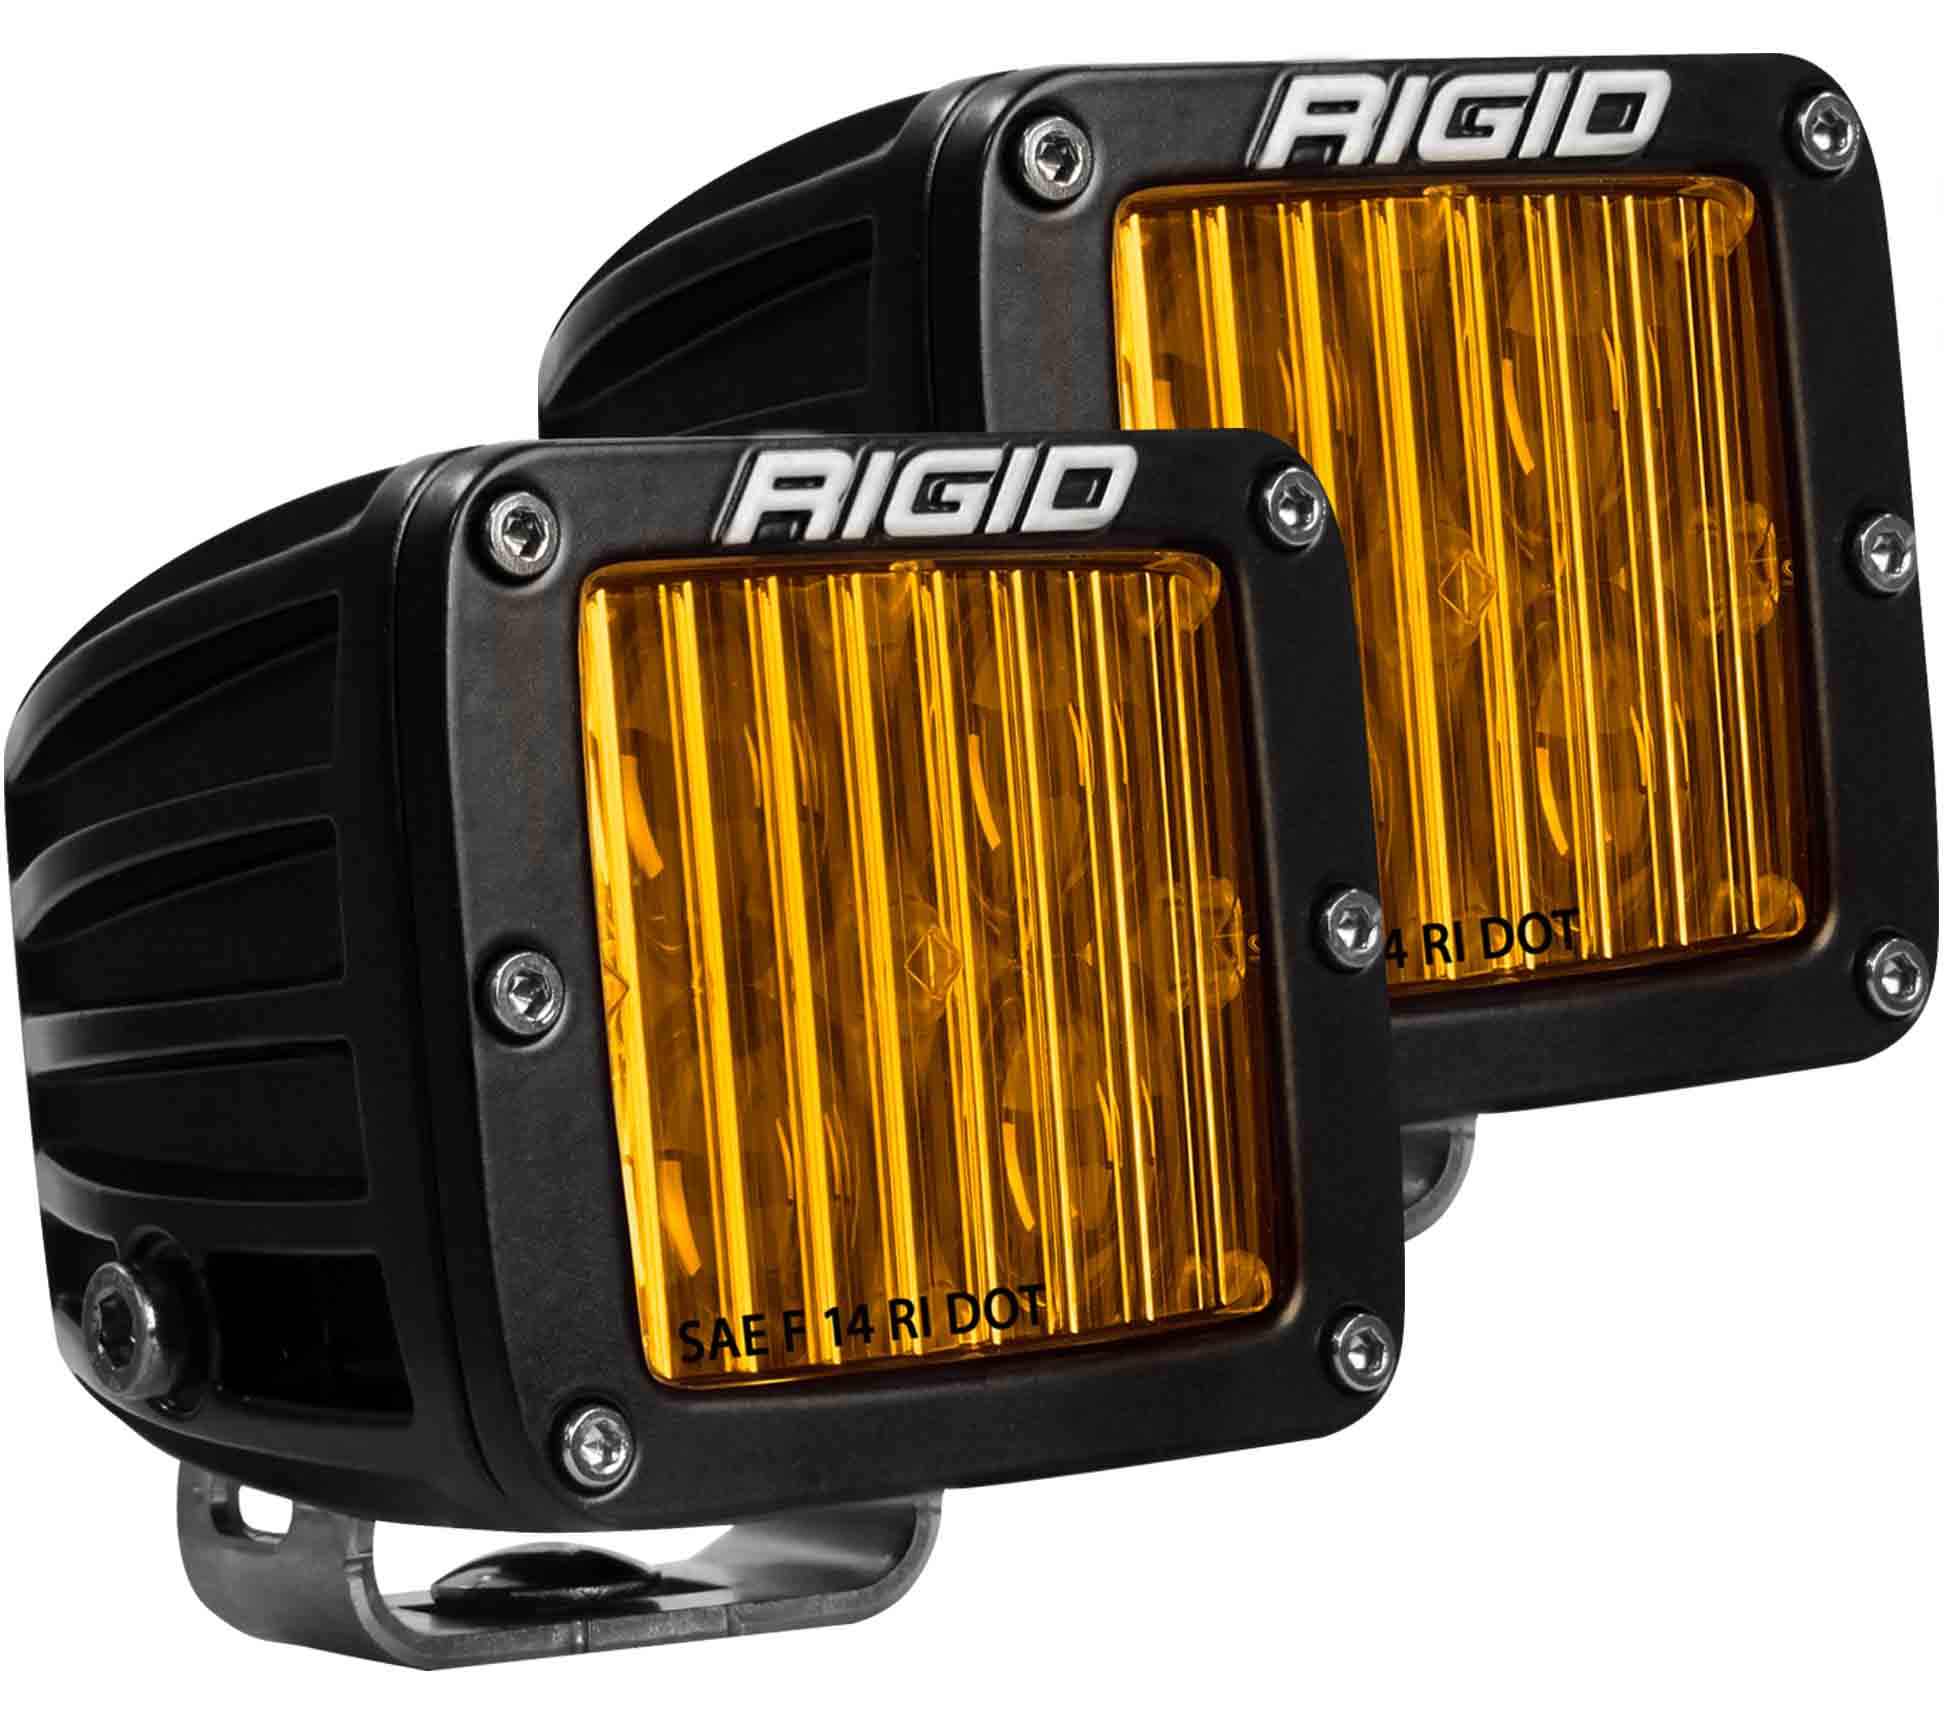
A-pillar, or ditch lights, are very popular with the overlanding crowd. But you don’t need a rooftop tent or special pants to use them. For anyone that travels in deer country or on twisty roads, they make a lot of sense. Properly aimed ditch lights illuminate the side of the road, helping you see anything coming onto it. On that trail, they do the same thing and can act as cornering lights too. You want to get as close to a 180-degree spread of illumination when setting up your lighting, and ditch lights help do that. Some lights, like Rigid’s D-SS Pros, are made specifically for A-pillar applications.
There really aren’t any drawbacks to ditch lights. They do require specialized mounts, so they are not available for every vehicle. And they can make some wind noise, but usually it is minimal. Ditch lights are generally on the small side, so they don’t generate a lot of noise.
Ditch lights are least effective when people aim them straight ahead. The vehicle’s hood blocks out a lot of the light resulting in less illumination. Remember, ditch lights are designed to illuminate the side of your vehicle, not the front of it. Aim them appropriately and use a flood beam pattern to get a nice spread of light.
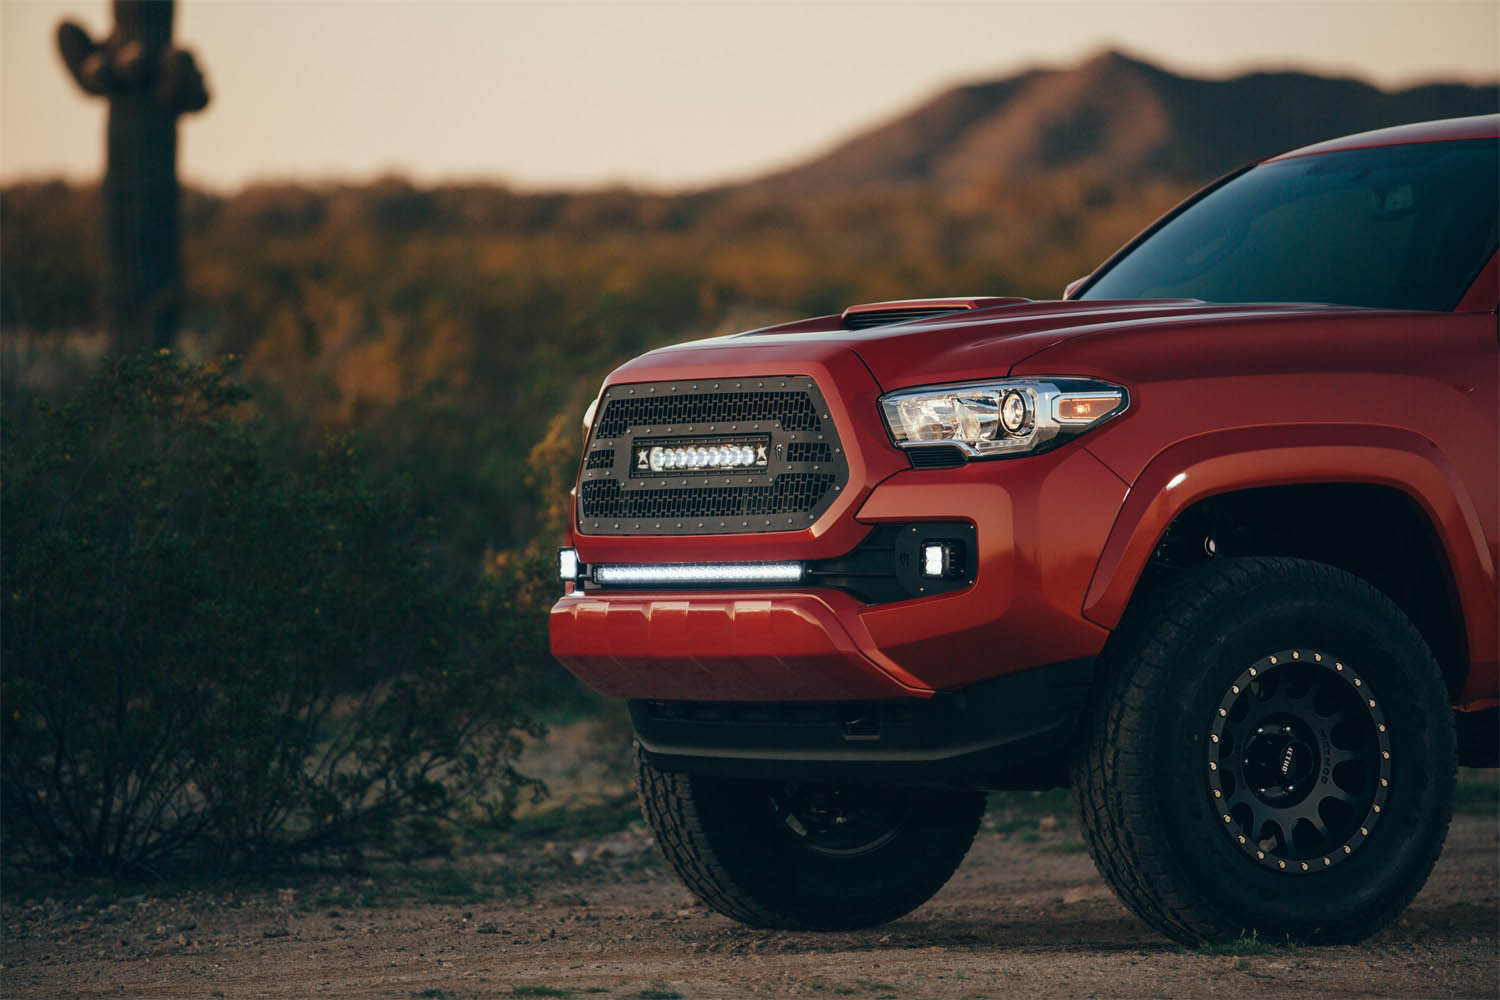
Grilles, like this one from Rigid Industries, allow for a smaller LED light to be integrated into the grille. It is also a wise idea to upgrade your factory fog lights with better ones. Most LED companies offer kits that make the process simple.
The Grille
Some companies, like Rigid Industries and ZRoadz, make grilles with LED light mounts built into them. This gives a very clean look, and the light is still up high enough to project as far as you need it to. But there are a couple of things to consider when thinking about grille-mounted LED lights. First, grilles are not a very strong place to mount a light. To add strength, LED grilles are usually metal. And most use smaller and lighter single row lights to keep the grille from being overtaxed.
Another option is to mount the lights behind the grille instead of in it. The amount of vehicles with enough room for lights behind the grille is limited. And, the factory grille has to be of a more open design too. Otherwise, it will block too much light making any LEDs mounted behind the grille useless. Even with a more open design, a grille is still going to block some light. But if you use a quality LED with plenty of output, there will still be lots of light.
Fog Lights
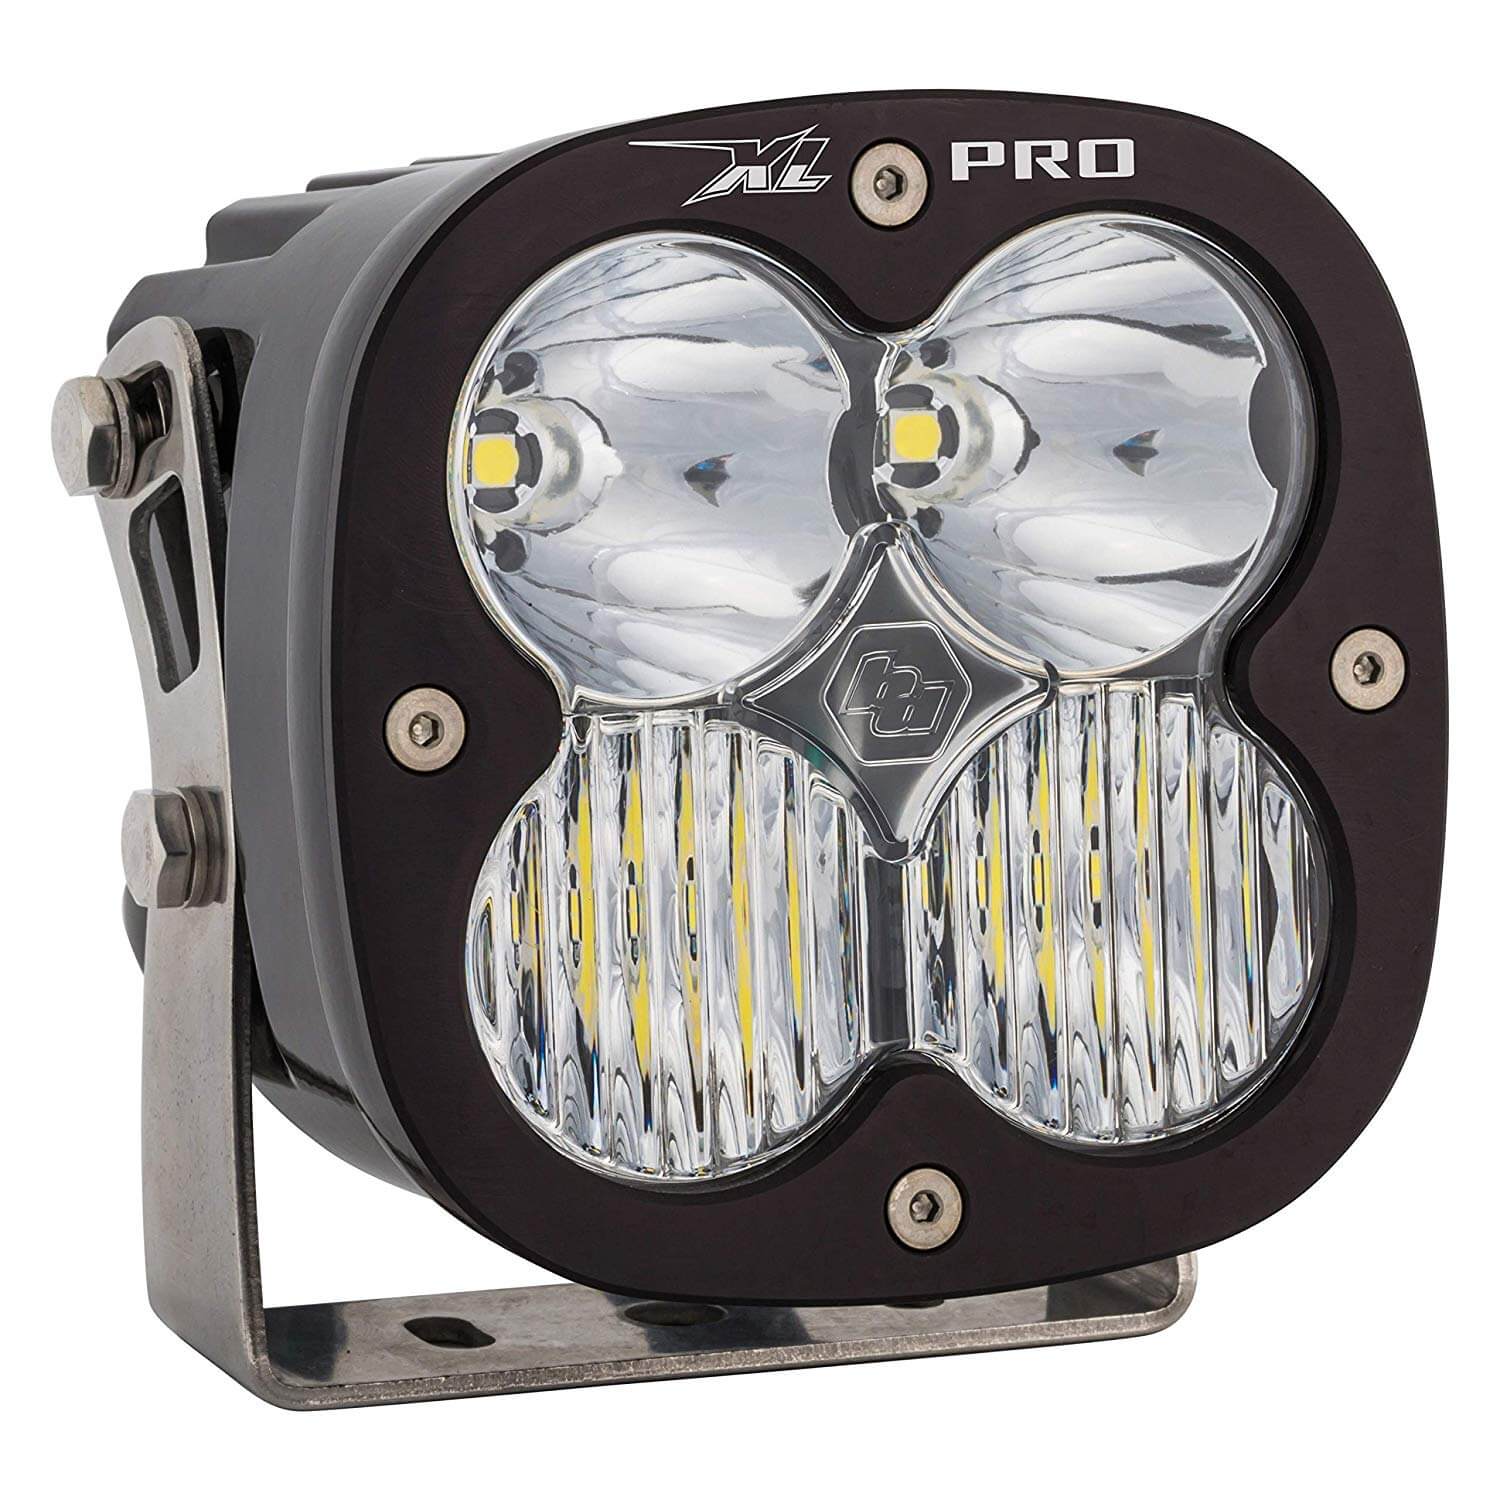
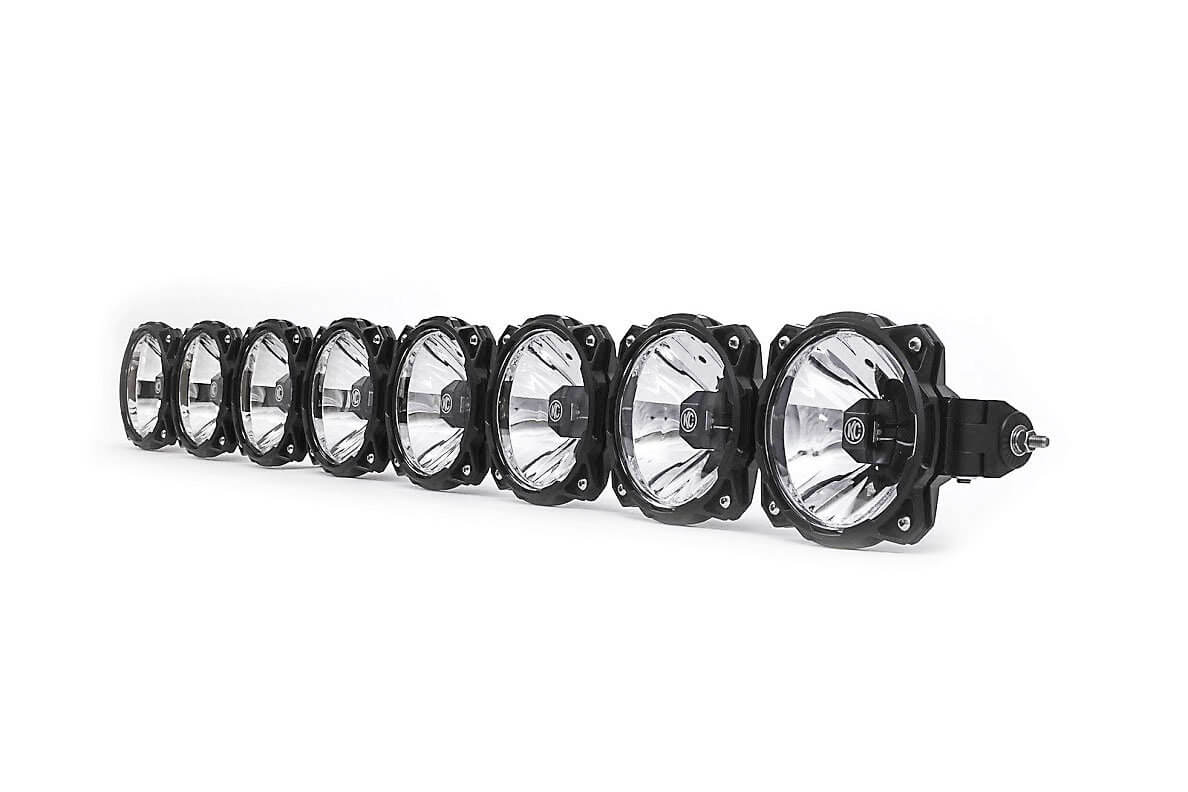
Don’t forget about upgrading your factory fog lights. Companies like Baja Designs, KC Hilites and Rigid Industries make kits that replace the fog lights of many vehicles. Most are simple to install, use plug-and-play wiring, and come with mounts for an easy conversion. They also use lights like Rigid’s D-series and Baja Designs Squadrons that produce a lot more lumens than the factory ones.
Fog lights sit low on a bumper for a reason. The idea is that they shoot light below low-hanging fog right where you need it. Having them low on the vehicle also produces less glare from light bouncing back at you off of the fog. Fog lights should be yellow or amber to reduce glare further. This same theory also works in dusty conditions as well, making it a wise idea to upgrade them.
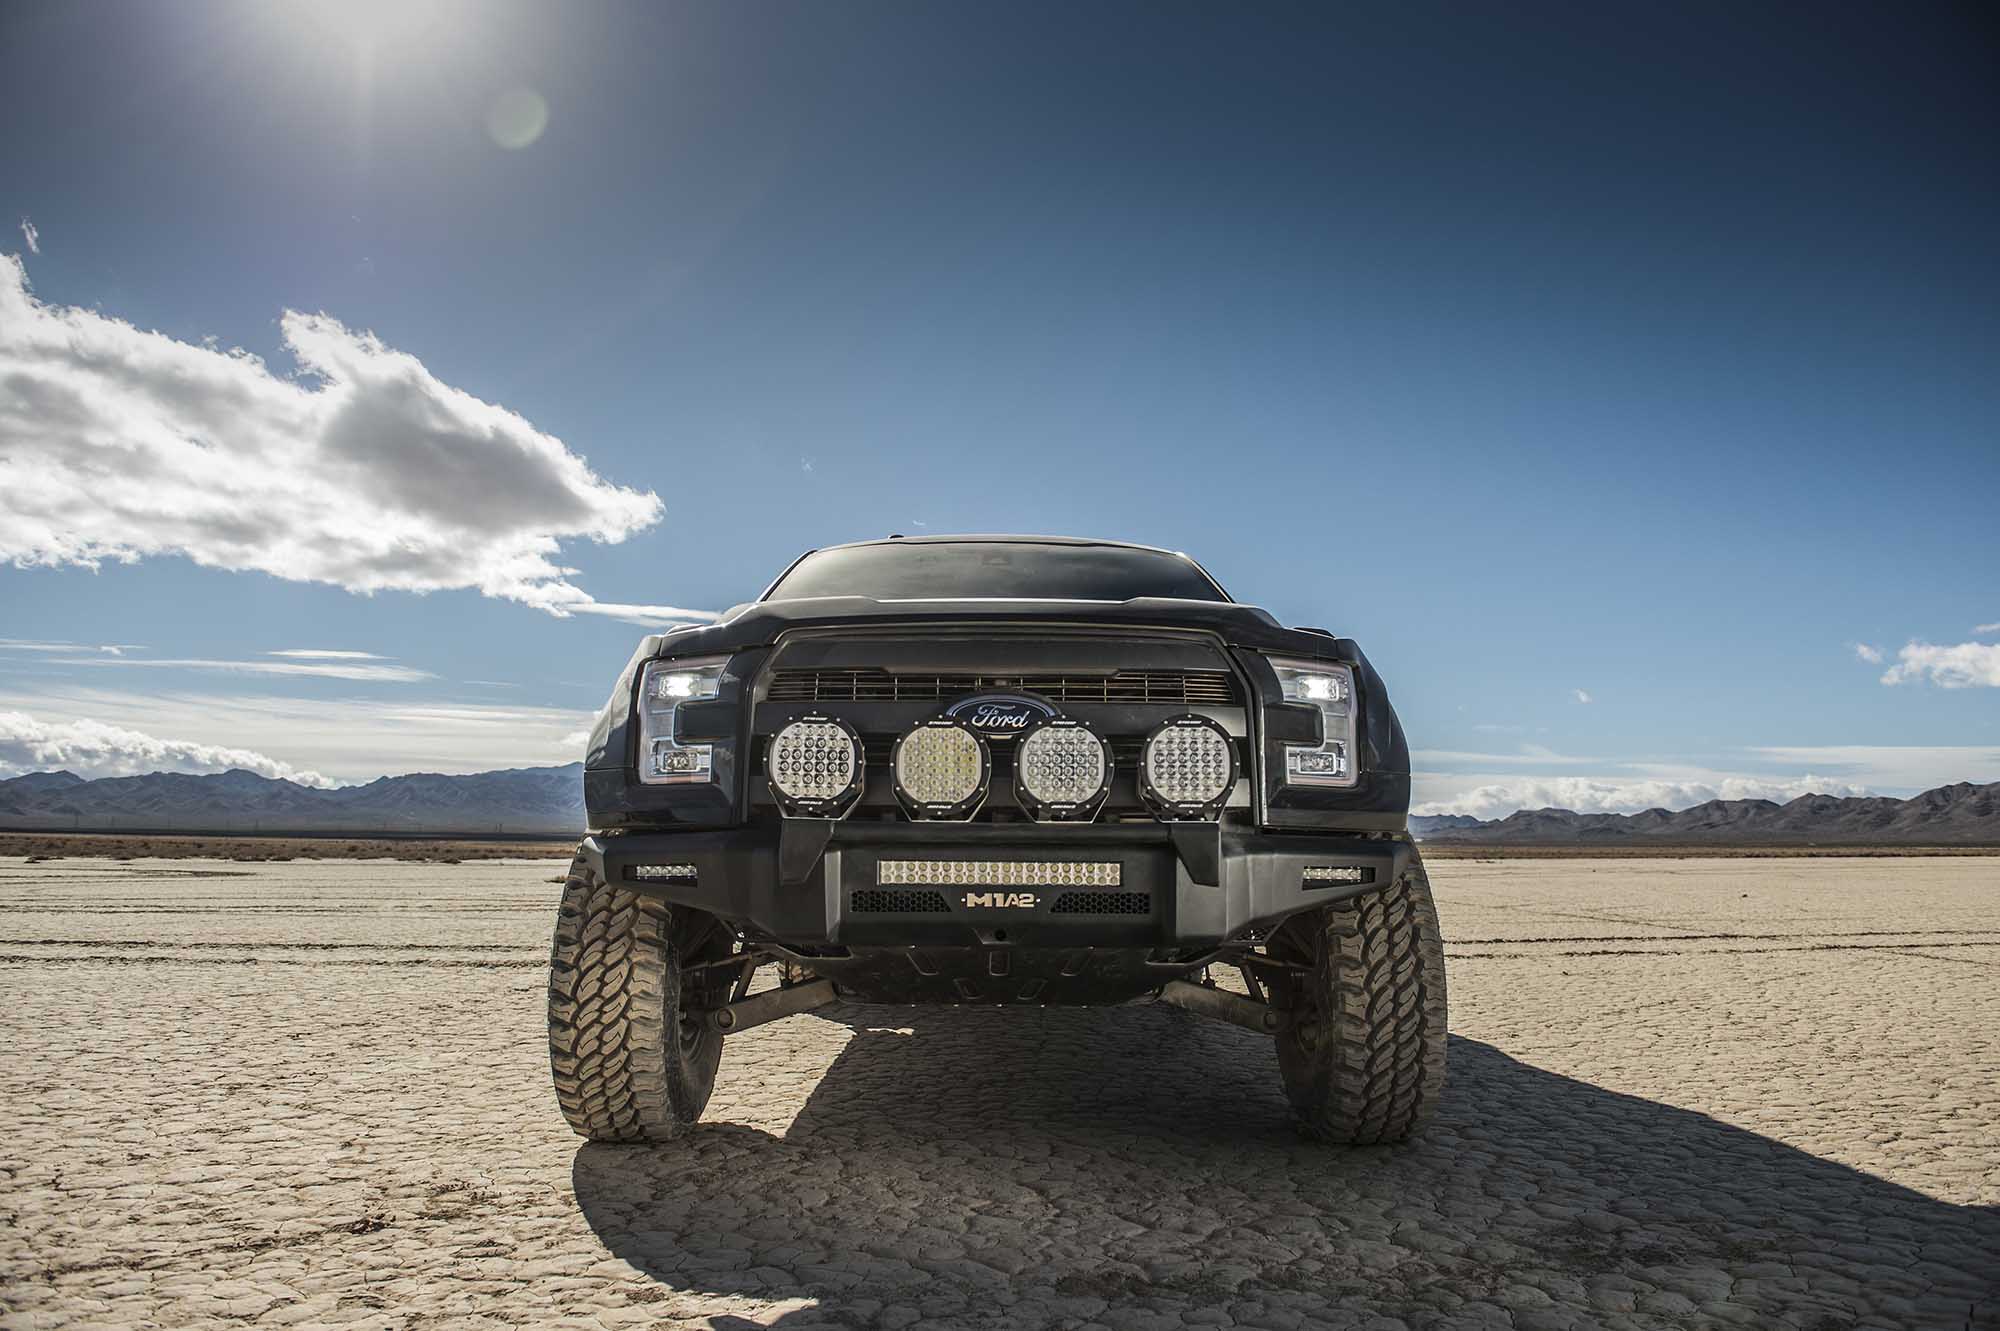
The front bumper is a great location for LED lights. Many modern bumpers feature LED light mounts and cutouts integrated right into the bumper. Be careful not to block airflow to the radiator too much if you are mounting lights on the top of the bumper.
Front Bumpers
A great spot to mount LED lights is on the front bumper. Here lights are still up high enough to project out as far as needed. There is no glare from light bouncing back off of the hood, either. Wiring is easy to conceal and run from the front bumper to the battery. And, lights on the front bumper usually don’t generate enough wind noise to be heard. Many aftermarket bumpers come with cutouts for lights making for a clean and secure way to add extra lights.
The only real drawback to mounting lights on the front bumper is that they can sometimes interfere with the airflow to the radiator. Usually, this only happens when you go nuts mounting a bunch of giant lights on your front bumper. But even smaller lights can affect airflow if you are using your vehicle hard. If your temperatures spike after putting on some new lights, take one or two off and see what happens.
Rear Bumpers
Most people focus their efforts on illuminating what is in front of their vehicle. But reversing out of a sticky situation on the trail or at a dark worksite can be tricky without any additional lighting. Mounting lights on a factory rear bumper is not exactly easy. There are no provisions for extra lighting on them.
One way to add some LEDs is with flush-mounted lights like Rigid’s SR-L Series Spreaders. It takes a bit of skill and cutting, but the benefits are a clean look, your departure angle stays the same, and they provide plenty of light. Another way to add more light is by mounting them to a trailer hitch or the bottom of the rear bumper. This doesn’t look as clean and they are easy to knock off on the trail. But it is an easier install if you don’t go off-road much.
The simplest way to add lights is to get a new rear bumper with mounts built into it. A new rear bumper isn’t exactly cheap, so doing this just for some extra lighting might not make much sense. But since we have a habit of destroying rear bumpers, we usually upgrade to stouter ones anyways. If you are going to get a new rear bumper, you might as well make sure it has provisions for additional lights. It will make backing up at night a lot easier.
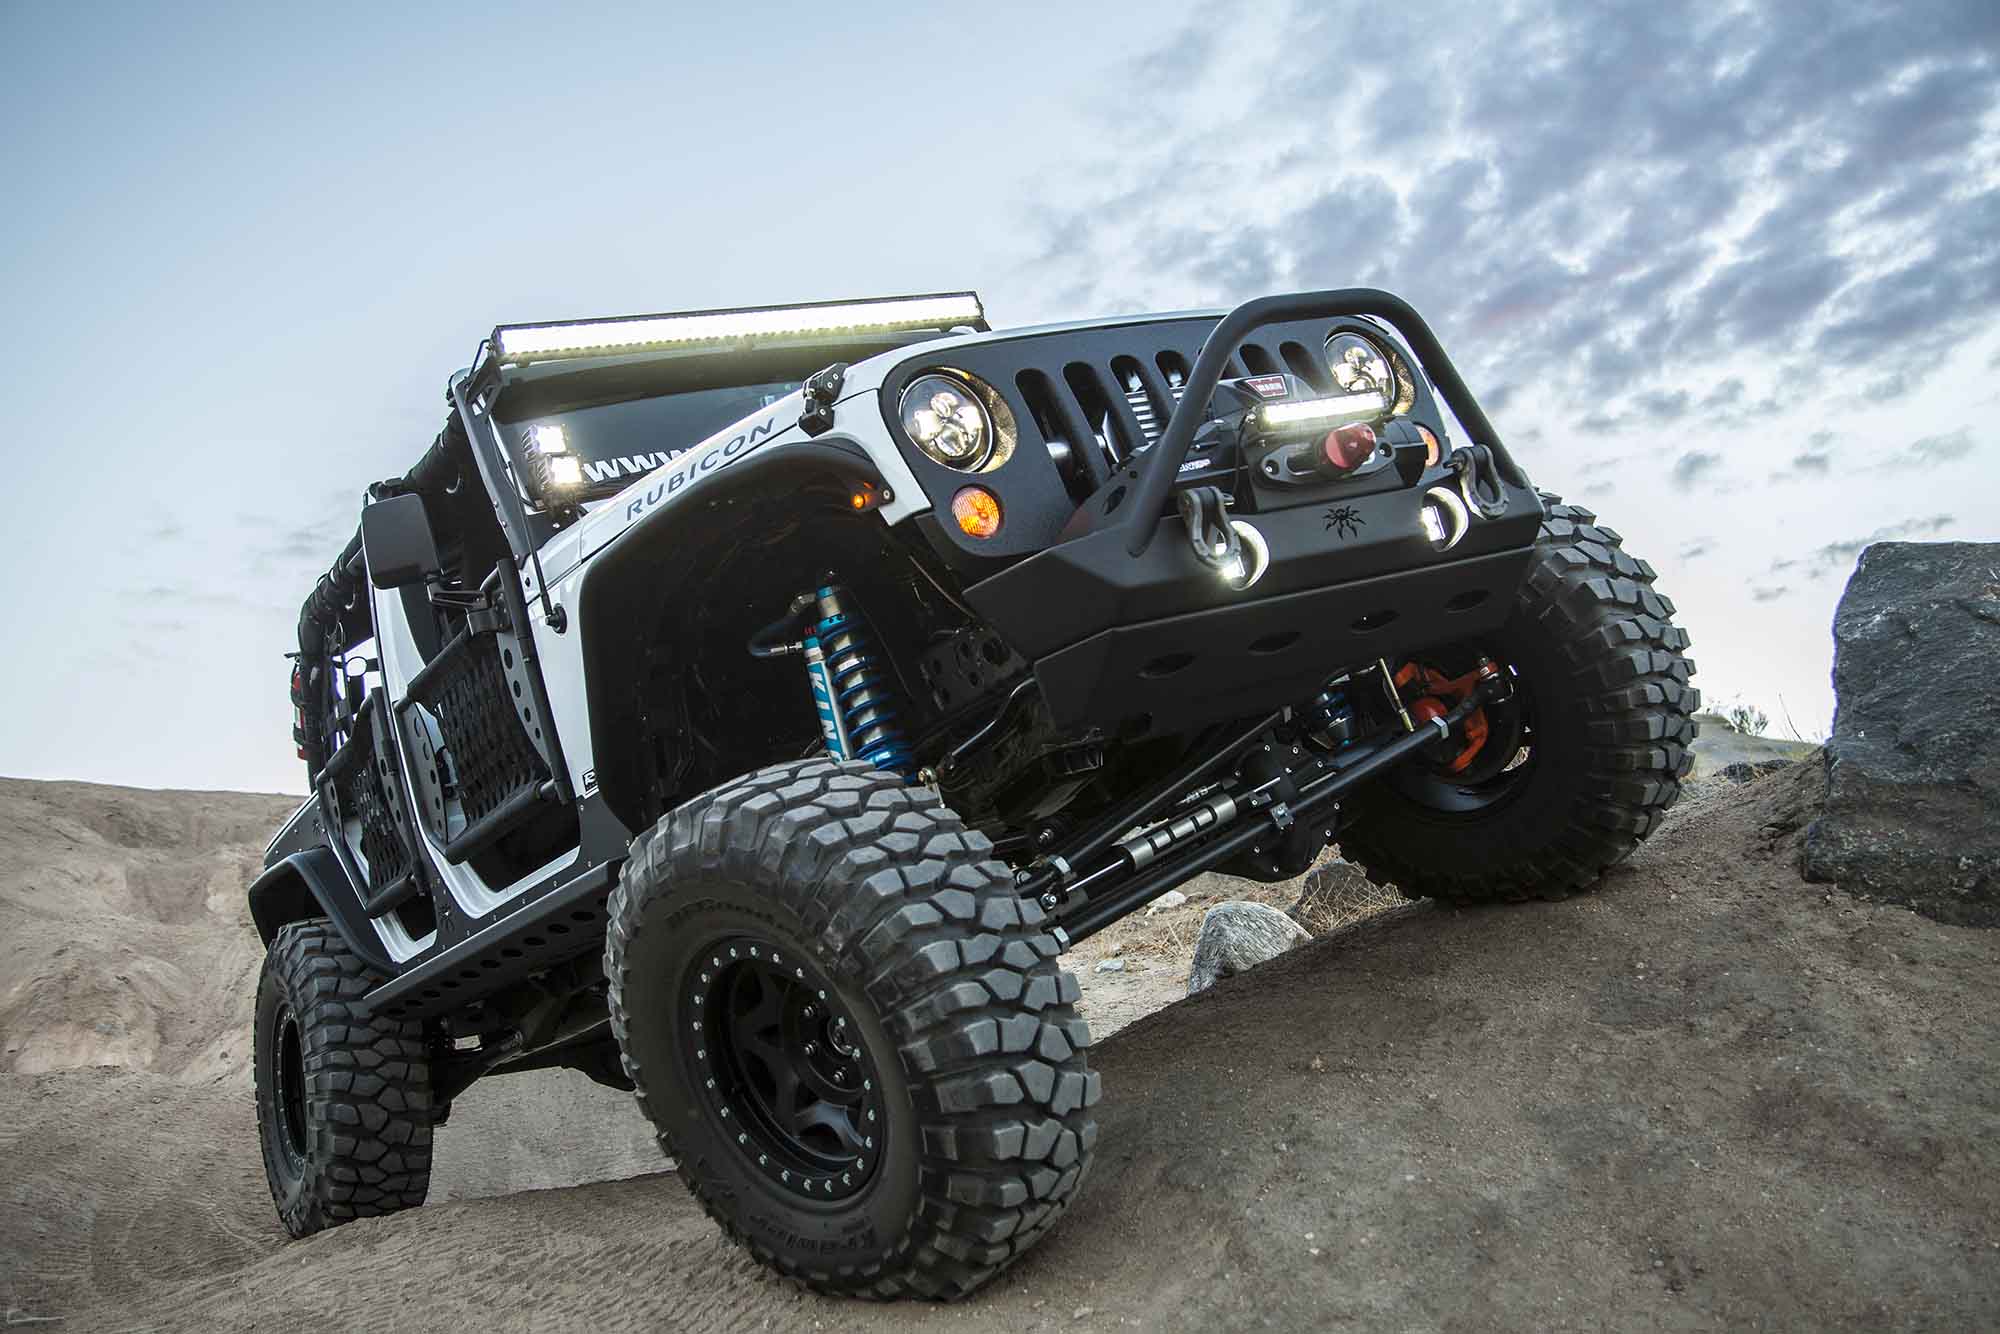
This Jeep JK does a great job of cleanly integrating plenty of LED lights for night runs. There is one across the roof, a set of A-pillar lights, a small one above the winch, and fog light replacements. Even the headlights have been upgraded to LEDs. However, all of these lights are forward facing. A set of rock lights would really help with tire placement in technical terrain.
Rock Lights
On slower, more technical trails tire placement is critical. At night it can be hard to see your tires even with lots of extra lighting. That is because most lights project light forward of the vehicle. What you need is light right below your vehicle. Rock lights do precisely that and make wheeling at night so much easier.
Rock lights are not just for low-speed crawling, though. With their tiny size, they can fit just about anywhere. We like to put them in wheel wells to give us some extra light when changing a flat tire or making repairs. They are also great for use under the hood or even as interior lights. We have even seen people mount them in a pickup bed and underneath a shell. Rock lights aren’t just strictly for the rocks, but any place you need a bit of extra light.

2