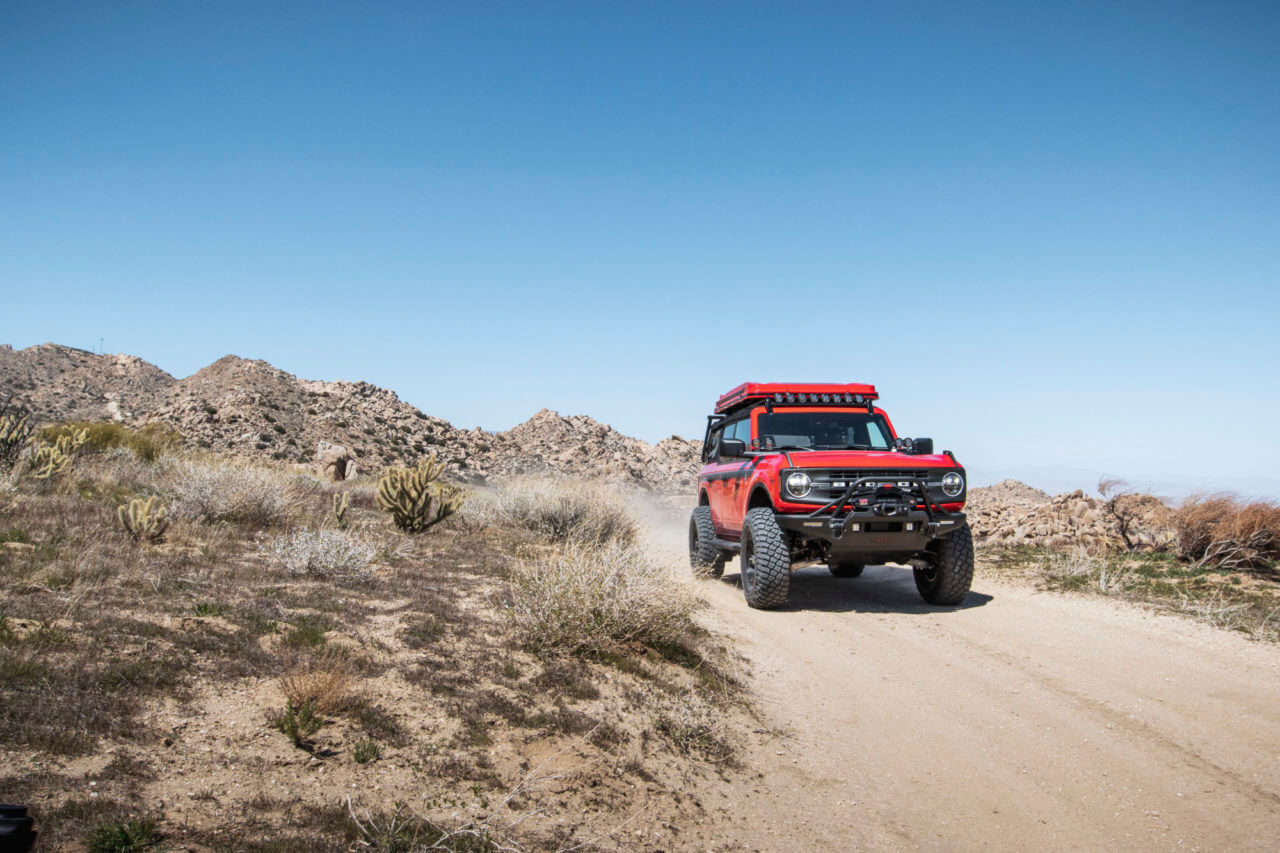
A lift kit can open up your off-roader to a whole world of possibilities. Suddenly, your ground clearance, approach, and departure angles are enhanced, allowing you to tackle more demanding terrain and trails that were previously off-limits to your stock ride height. Your vehicle rides taller, prouder, and looks meaner too.
How can you get in on some of that sweet lift kit action? First off, if you’re looking to purchase a lift kit, look no further than the range from Pro Comp, one of the most recognized and respected offroad aftermarket component brands. They’ve got Basic Lift Kits, Stage 1, Stage 2, and Stage 3 kits, and Long Arm Lift Kits to choose from.
Understand Your Vehicle
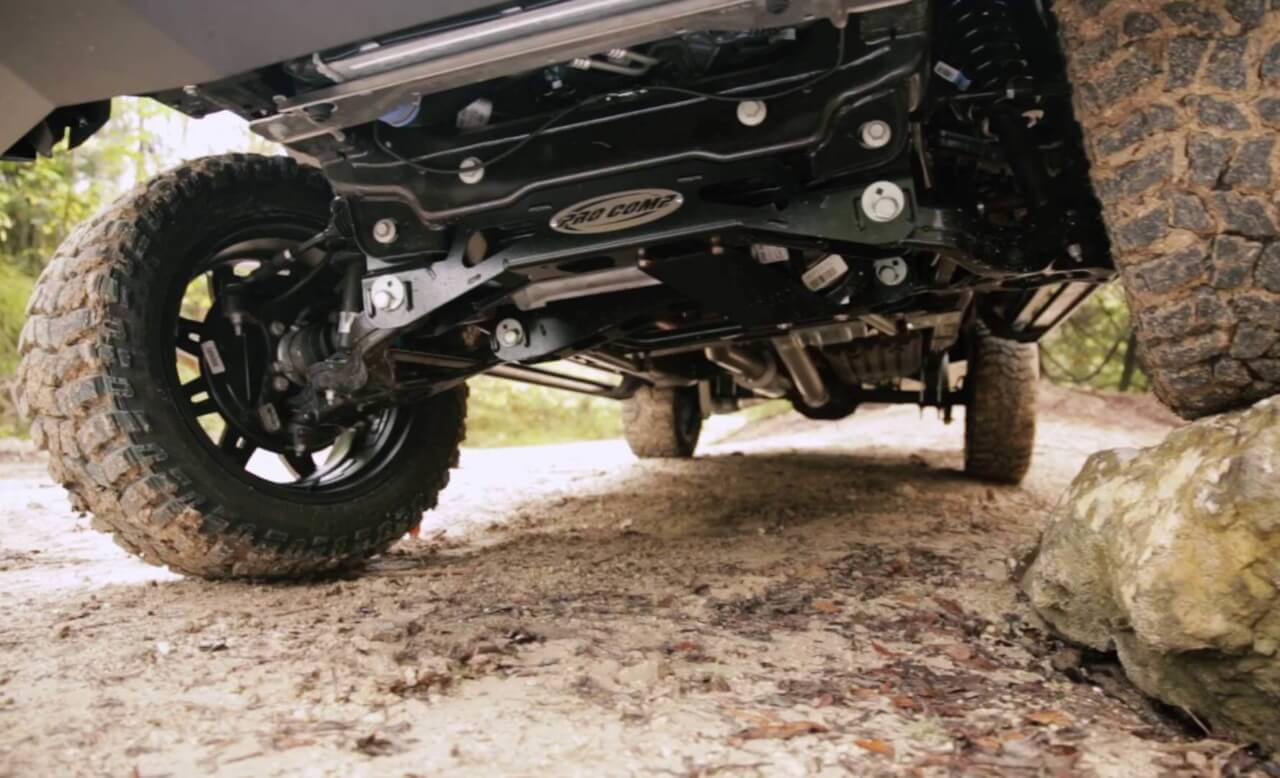
When embarking on an off-roader or truck lift kit installation, the first thing to do is to understand your vehicle. Specifically, you need to identify the kind of suspension it uses at the front and rear. Does it use a coil spring system, torsion bar system, leaf spring system, or other kind? Understanding the kind of system used is paramount, as you will be left with an expensive but useless kit if you don’t get the correct one for your vehicle. The friendly experts at 4 Wheel Parts can assist if you’re unsure.
You should also understand your requirements. Remember that a lift kit increases your vehicle’s ride height and makes entry and exit a bit harder, and may affect its highway manners. If you’re an occasional off-roader who doesn’t hit the advanced trails very much, investing in the tallest lift kit around is a waste of time and money. Identify the best realistic solution for your needs, rather than going for what looks cool. Remember that lift kit installation is more challenging on taller kits as well.

Tools & Supplies Needed
What do you need to install a lift kit? We’ve put together a list of tools, and you’ll be surprised at how intensive it is. Chances are, you will have at least 50% of them in your toolbox back home and may need to borrow or rent the remainder. We’ve broken it down into the basics, and the nice-to-haves, for your convenience.
The Basics
- An assortment of screwdrivers
- A torque wrench
- Standard socket wrench set with the commonly used sizes
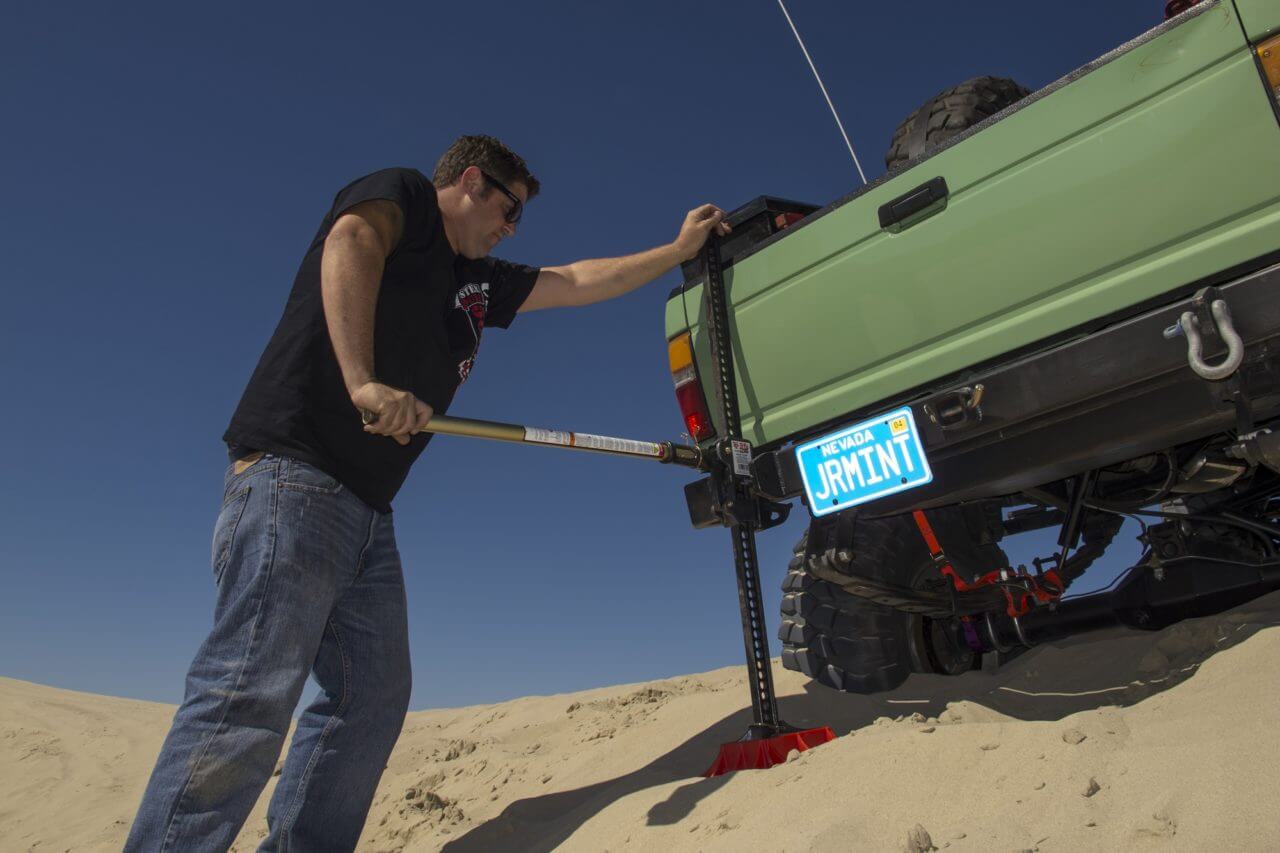
- Vehicle jacks and stands that are rated for your vehicle
- A can of WD-40 for loosening stubborn parts
- Pry bars
- Lug wrench
- Extra nuts and bolts
- A hammer
- Safety wire for temporary tying jobs
The Nice-to-Haves
- A spring compressor if your vehicle uses coil springs
- Torsion bar unloading tool
- Impact wrench
- Breaker bar
- Drill and selection of drill bits
- Reciprocating saw or angle grinder

Steps To Install A Lift Kit
If you’ve made it this far, have all your tools at hand, and a lift kit package standing by, congratulations. Now let’s get on to how to install a lift kit. Here are a set of steps that broadly correspond to the most common lift kit installation procedures.
- Read the instructions that came with the lift kit. Read them again. And again. You want to be thorough and not have to refer to them while your vehicle is in the air and you’re holding a component with one hand.
- Unpack the components and ensure that everything is present and correct. You don’t want to be halfway through and realize that something’s missing.
- Ensure that your vehicle is parked on level ground and you have plenty of space around it.
- Disconnect your vehicle’s negative battery terminal, and cover the exposed wire securely.
- Loosen, but do not remove your wheel lug nuts.
- Jack up the front of your vehicle, and place jack stands in the appropriate places. Remember, you will be working underneath your truck, and you should never trust jacks alone to hold it up.
- Use a floor jack to support the axle, as you will be removing parts attached to it.
- Remove the wheels and tires.
- Remove your existing shock absorbers, springs (be careful, as they are under tension) and U-bolts. If anything doesn’t come off easily, verify that all nuts and bolts have been removed, and use a hammer and pry bar to help them come loose.
- Some kits may require spring assembly, in which case, follow the instructions as per the kit to bolt the springs into place.
- Install the new U-bolts, ensuring that they are vertical and in alignment.
- Assemble your new shock absorbers as per the kit instructions, and install in your vehicle.
- Ensure that everything is properly bolted into place and that you have not skipped any nuts and bolts.
- Torque all nuts and bolts to the required specifications with your torque wrench.
- Re-attach the wheels and finger-tighten the lug nuts.
- Replace the jacks and remove the jack stands.
- Gently lower your vehicle to the ground, standing well clear of the wheels.
- Tighten the lug nuts to the correct specification.
- Repeat the process for the rear suspension. This will typically be easier than the front.
- Re-attach the negative battery terminal and go for a test drive.

Lift Kits and Much More from 4 Wheel Parts
4 Wheel Parts has a whole array of lift kits and basically anything off-road that you can think of, from Pro Comp as well as hundreds of other established and high-quality brands. Simply browse our website to see the entire range from the comfort of your computer or smart device. If you’re the traditional type who likes to visit a store, you can step into any of their 90+ stores across the nation. 4WP offers a price-matching policy should you find the same item for cheaper elsewhere, as well as warranties on applicable products. If you purchase online, their six distribution centers strategically located nationwide will ensure that your purchases reach your doorstep pronto.


2