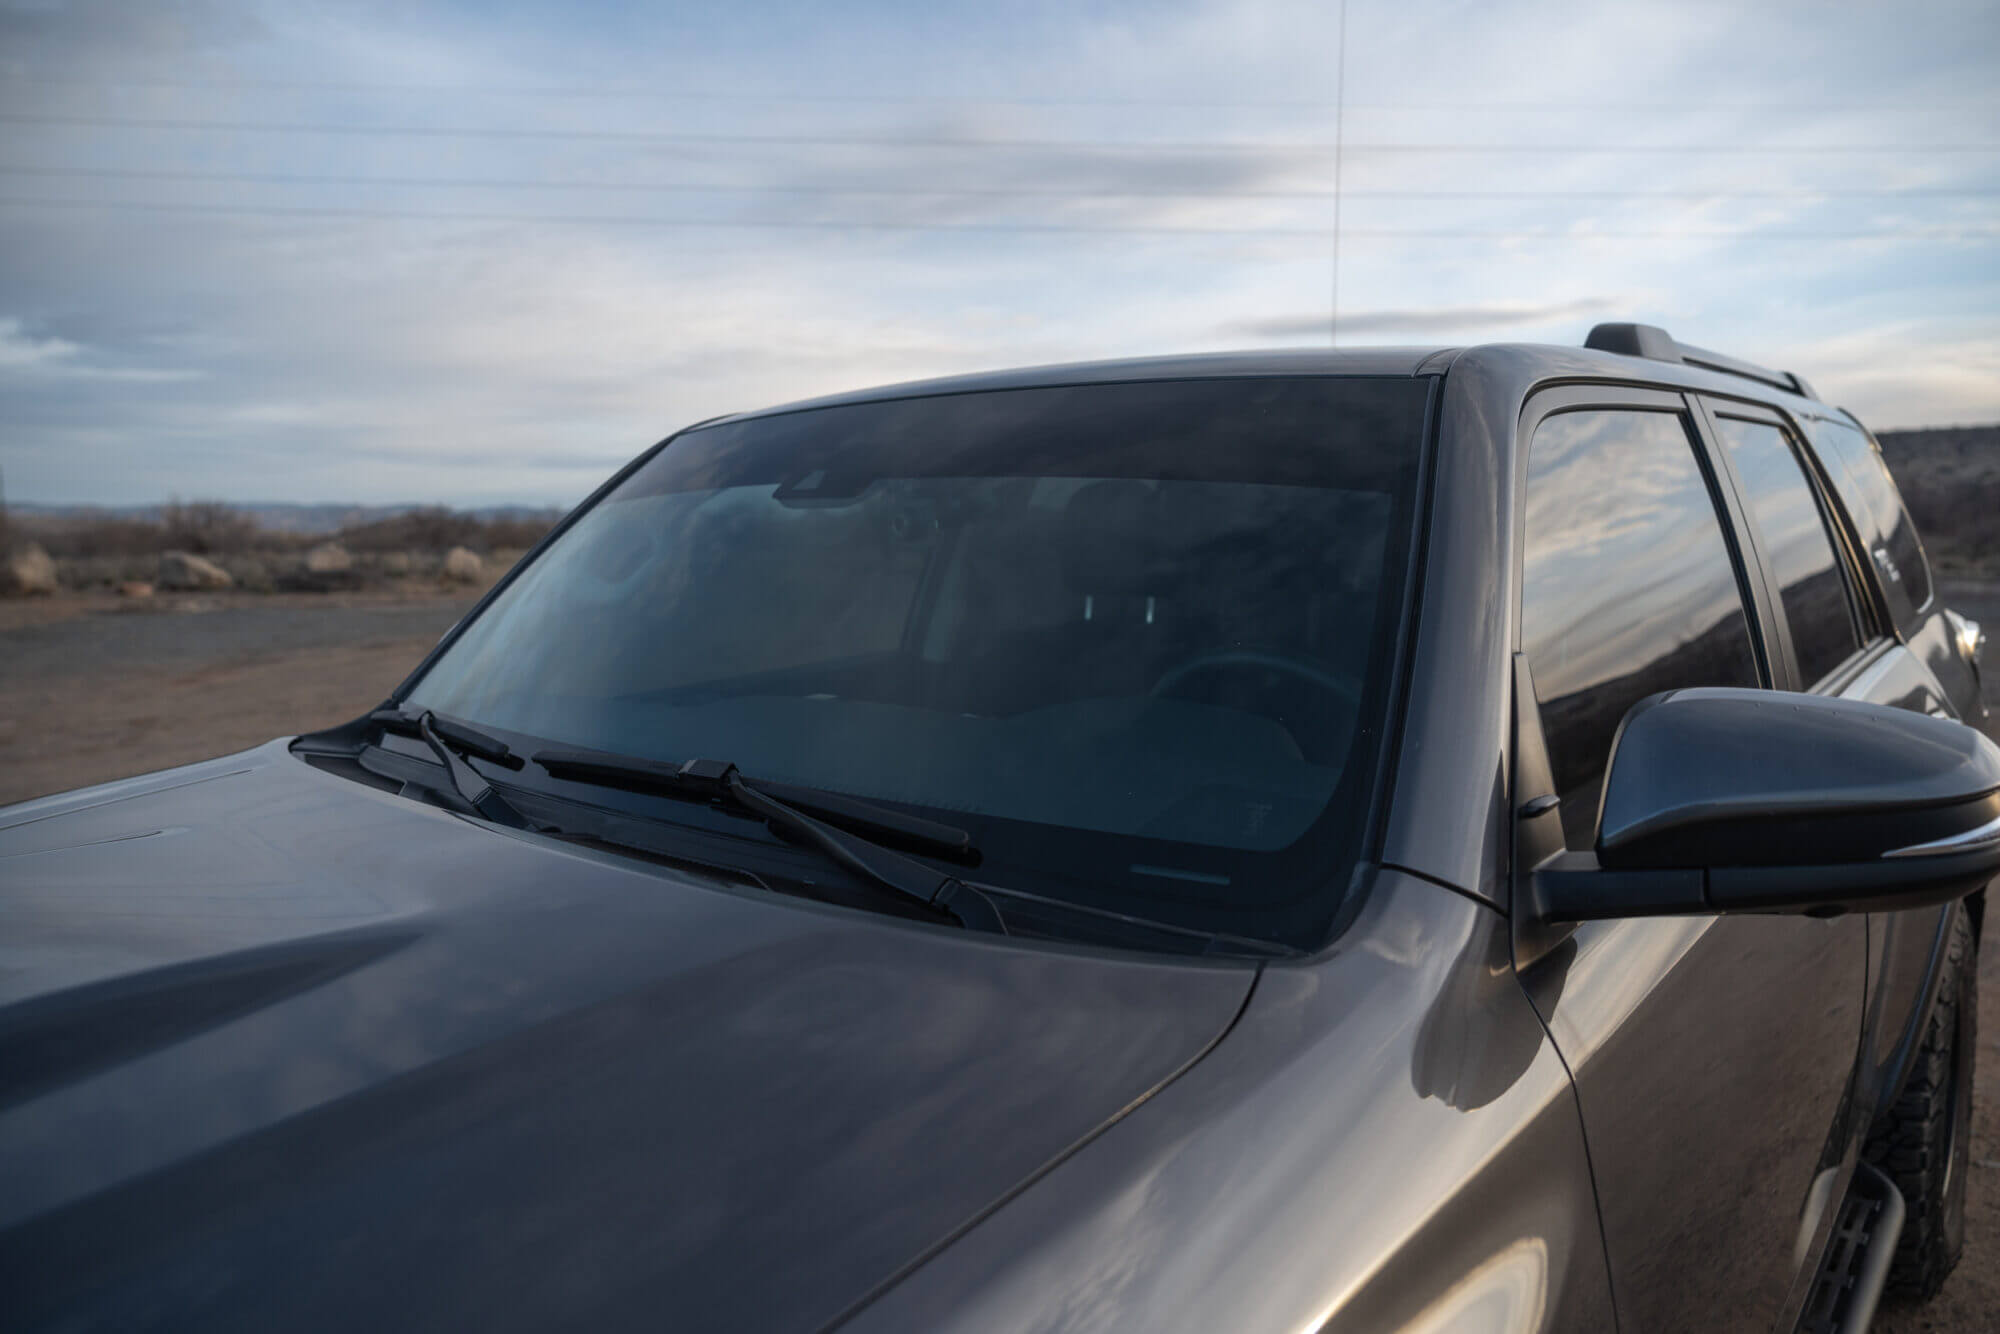
It’s happened to nearly everyone who drives a vehicle regularly. You’re driving at freeway speed or on the trails, and you hear a sharp crack. The next thing you know, there’s a ding or chip in your windshield. It’s enough to unnerve even the most seasoned off-roader or experienced road driver.
Windshields are expensive and need a specialist’s attention to replace them. When replacing the windshield, you should also replace the beading and weather channels too. If your previous windshield had some sun control film or protection applied, that will need to be added to the new windshield as well.
All those costs add up. It’s not uncommon for a windshield replacement job to tally up to four figures. Fortunately, not all dings and cracks need a complete windshield replacement. There are DIY kits available on the market that allow you to correct minor cracks by yourself in your garage or driveway.
Is it safe to drive with a cracked windshield? Your windshield bears a heavy wind load that increases with speed. Any weak spot is only going to get worse over time. That’s why you shouldn’t leave a crack or ding for too long without repairing it.
Looking for windshield-related products? 4 Wheel Parts has everything you need. Simply hit up our exterior parts section and browse away. You’ll receive competitive prices, expert advice, and top-notch after-sales service as well.
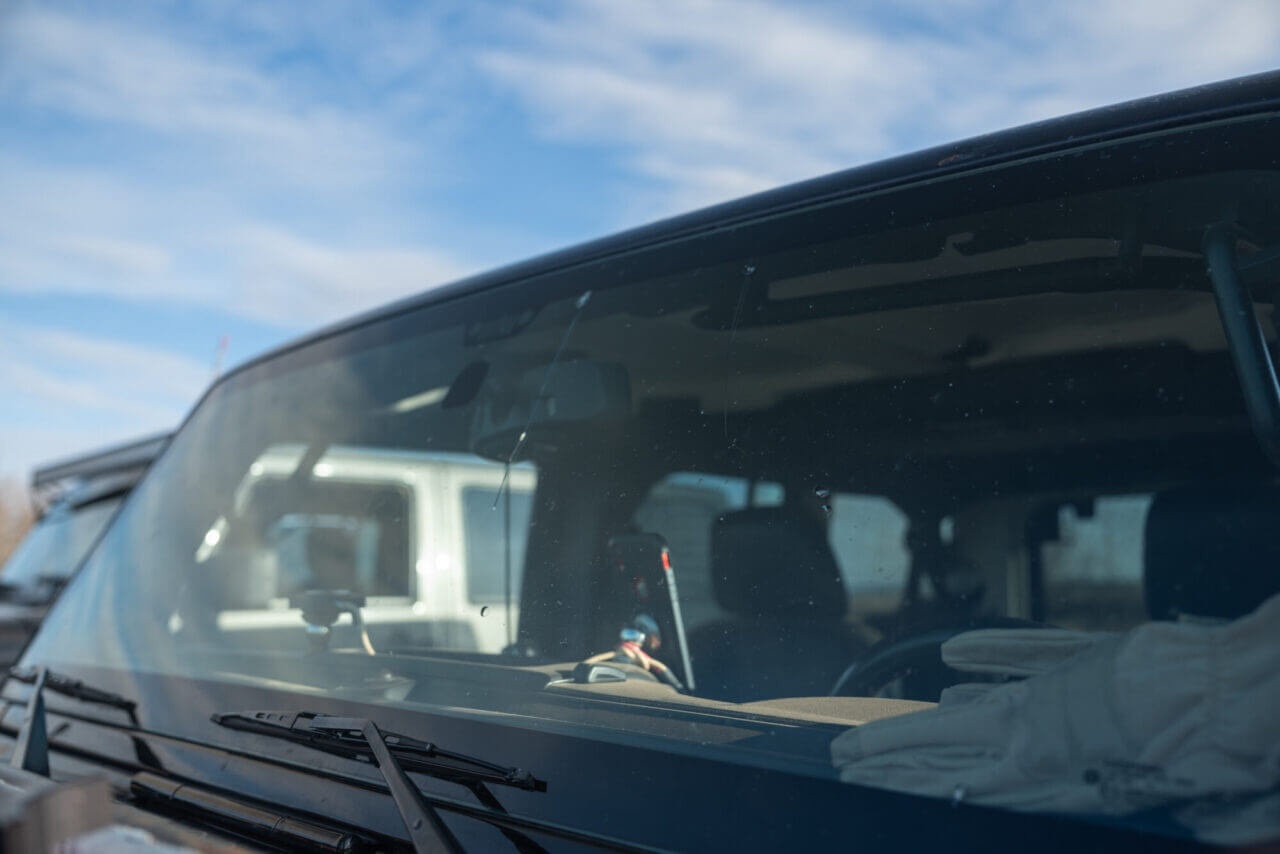
Evaluate The Windshield Crack
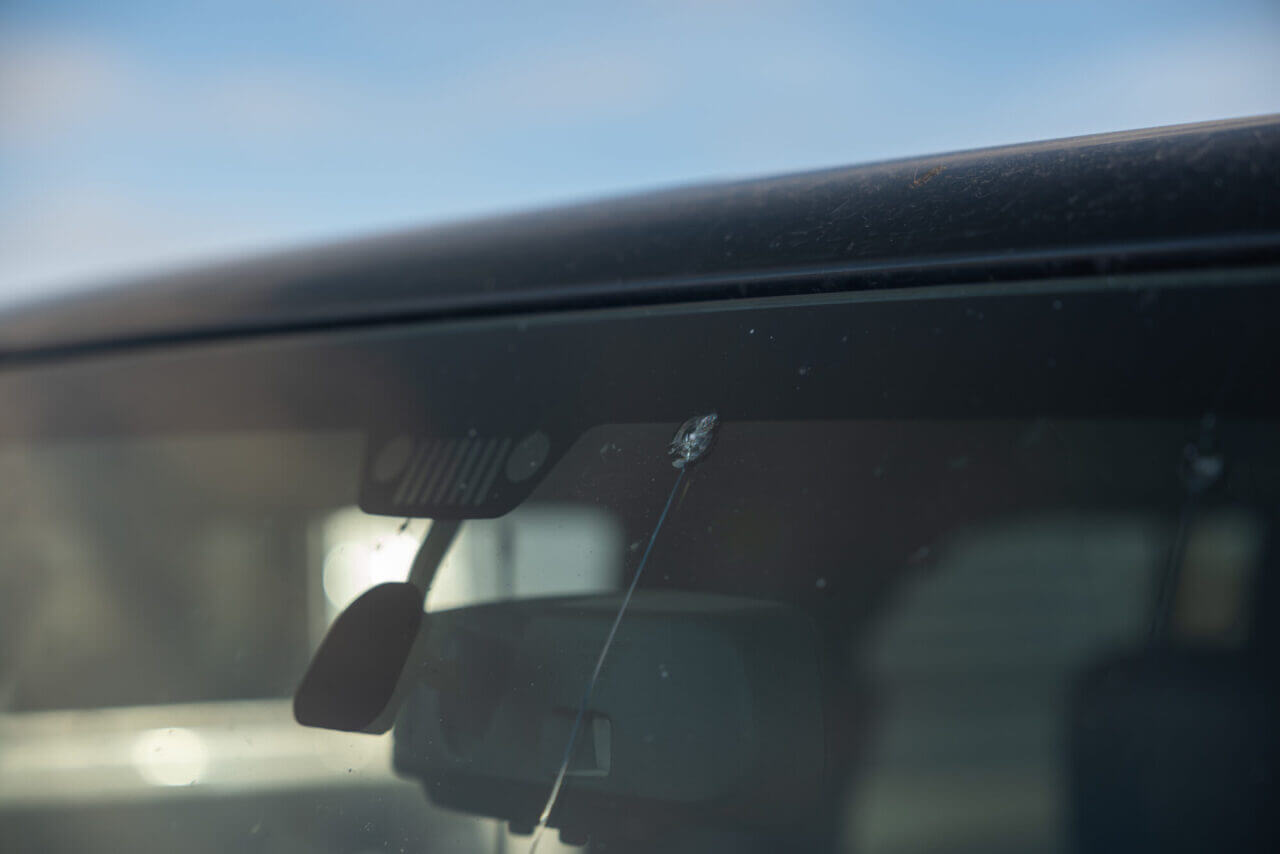
Fortunately, you can carry out this evaluation process by yourself in most cases. The generally accepted rule is that any ding smaller than a quarter or crack shorter than three inches can be repaired by yourself. You can purchase an aftermarket windshield repair kit and perform the repair at your convenience. Be sure to verify that the specifications of the kit match the size of your windshield’s ding or crack. If you’re in doubt, get in touch with our experts for advice.
What Kit is Best for Windshield Repair?
There are several windshield repair kits on the market. Here’s a rough guide as to what you should be looking out for when evaluating the best windshield repair kit for your needs. Factors you should be aware of include:
- An acceptable crack or chip size – different kits may have varying maximum crack or chip sizes that they are designed to fix.
- The cost of the kit – this factor varies widely, and the most expensive kit may not necessarily be the best for your need. Online reviews are a great way to evaluate.
- Expiration date – Epoxy is a key element in a windshield repair kit, and it has a short expiration date. So, you should target to buy a kit that’s as new as possible. Ideally, avoid kits with manufacture dates of more than six months from your purchase date.
- Curing steps – Epoxy must be cured, and different kits have various curing conditions and requirements. For example, some may require strong sunlight, and others may call for a UV lamp. Ensure that you understand these conditions and can fulfill them before purchasing your kit.
Steps to Fix Windshield Crack
Now, let’s get into the steps required to fix your windshield crack or ding. Steps may vary slightly depending on your exact kit, so we’re presenting the general outline of how the process should be carried out.
- Thoroughly wash and dry your windshield before starting the process. Why not wash your car as well while you’re at it?
- Take out the kit and read the instructions carefully. Read them again once you’re done. You want to fully understand how to use the kit before you start.
- Clean the crack or ding. You’ll want to use some rubbing alcohol and a microfiber cloth for this. Ensure that the crack, including its edges, are completely clean and dry before moving on to the next step.
- Remove the patch from the kit, take off the paper backing, and line it up with the crack or wding. If the crack or ding is too large to fit in the circle, you can’t repair your windshield with this kit.
- Center the patch and press it against the damaged area of your windshield, which is the crack or ding. Line up the tabs on the provided pedestal and press them against the adhesive.
- Some epoxy kits need to be mixed, while others come pre-mixed. Either way, prepare the epoxy as directed, fill the pedestal with liquid resin, and compress it using the included syringe.
- Time to retract the syringe’s plunger. Ensure that you hold down the pedestal with your hand while doing this. You don’t want to completely remove the syringe from within the pedestal.
- You have created a vacuum. Wait for signs of air bubbles escaping, which can take between one and ten minutes, depending on the kit.
- Remove the syringe and pedestal from your windshield. You may need to add a little more epoxy to ensure that there’s no dimple or dent remaining.
- Place the curing strip carefully on the repaired crack and gently press it to ease out any air bubbles from the sides. Keep the strip on for the recommended amount of time as per the instructions.
- Gently scrape off the strip with a razor blade, as well as any excess resin. Take extreme care to avoid placing any fingerprints on the resin. If done correctly, you’ll have a flawless windshield.
- Consider replacing your wiper blades as well. It’s probably time for that, anyway.

Everything You Need for Windshield Maintenance from 4 Wheel Parts
Since 1961, 4 Wheel Parts has offered everything that off-roaders and motorists need to make their vehicles better. With nearly a hundred stores nationwide, we are never far away. Or, shop online where you can browse from thousands of products, representing hundreds of the world’s best brands. We offer everyday low prices and a price-match guarantee as well. Couple that with friendly expert advice and the best warranties possible, and you’re on to a winner.


2